Using PexRTC with React
This tutorial will guide the reader through starting with the PexRTC library with React. This guide is intended as informational only and it is recommended that the reader follow their own best practices when implementing this solution. The information in this document is not offered with any warranty or guarantees.
Getting Started
To follow this tutorial, it is recommended/required that the reader has the following tools installed.
Required Software and Tools
Visual Studio Code
React version 17 or greater
NodeJS version 16 or greater
NPM version 8.3 or greater
Other Requirements
- Pexip Infinity deployment with a minimum of 1 conference node and a management node
Creating the React Project
The first step is to create the React project, to do this, open your favorite terminal application and change the directory to the location you would like to create the package.
# Replace the below with your own directory
cd ~/git
Once you have navigated to this location, you need to run the react create command, we will then change the directory into the new project and run the react server locally to test that everything works.
npx create-react-app pexip-pexrtc-react-example
cd pexip-pexrtc-react-example
npm start
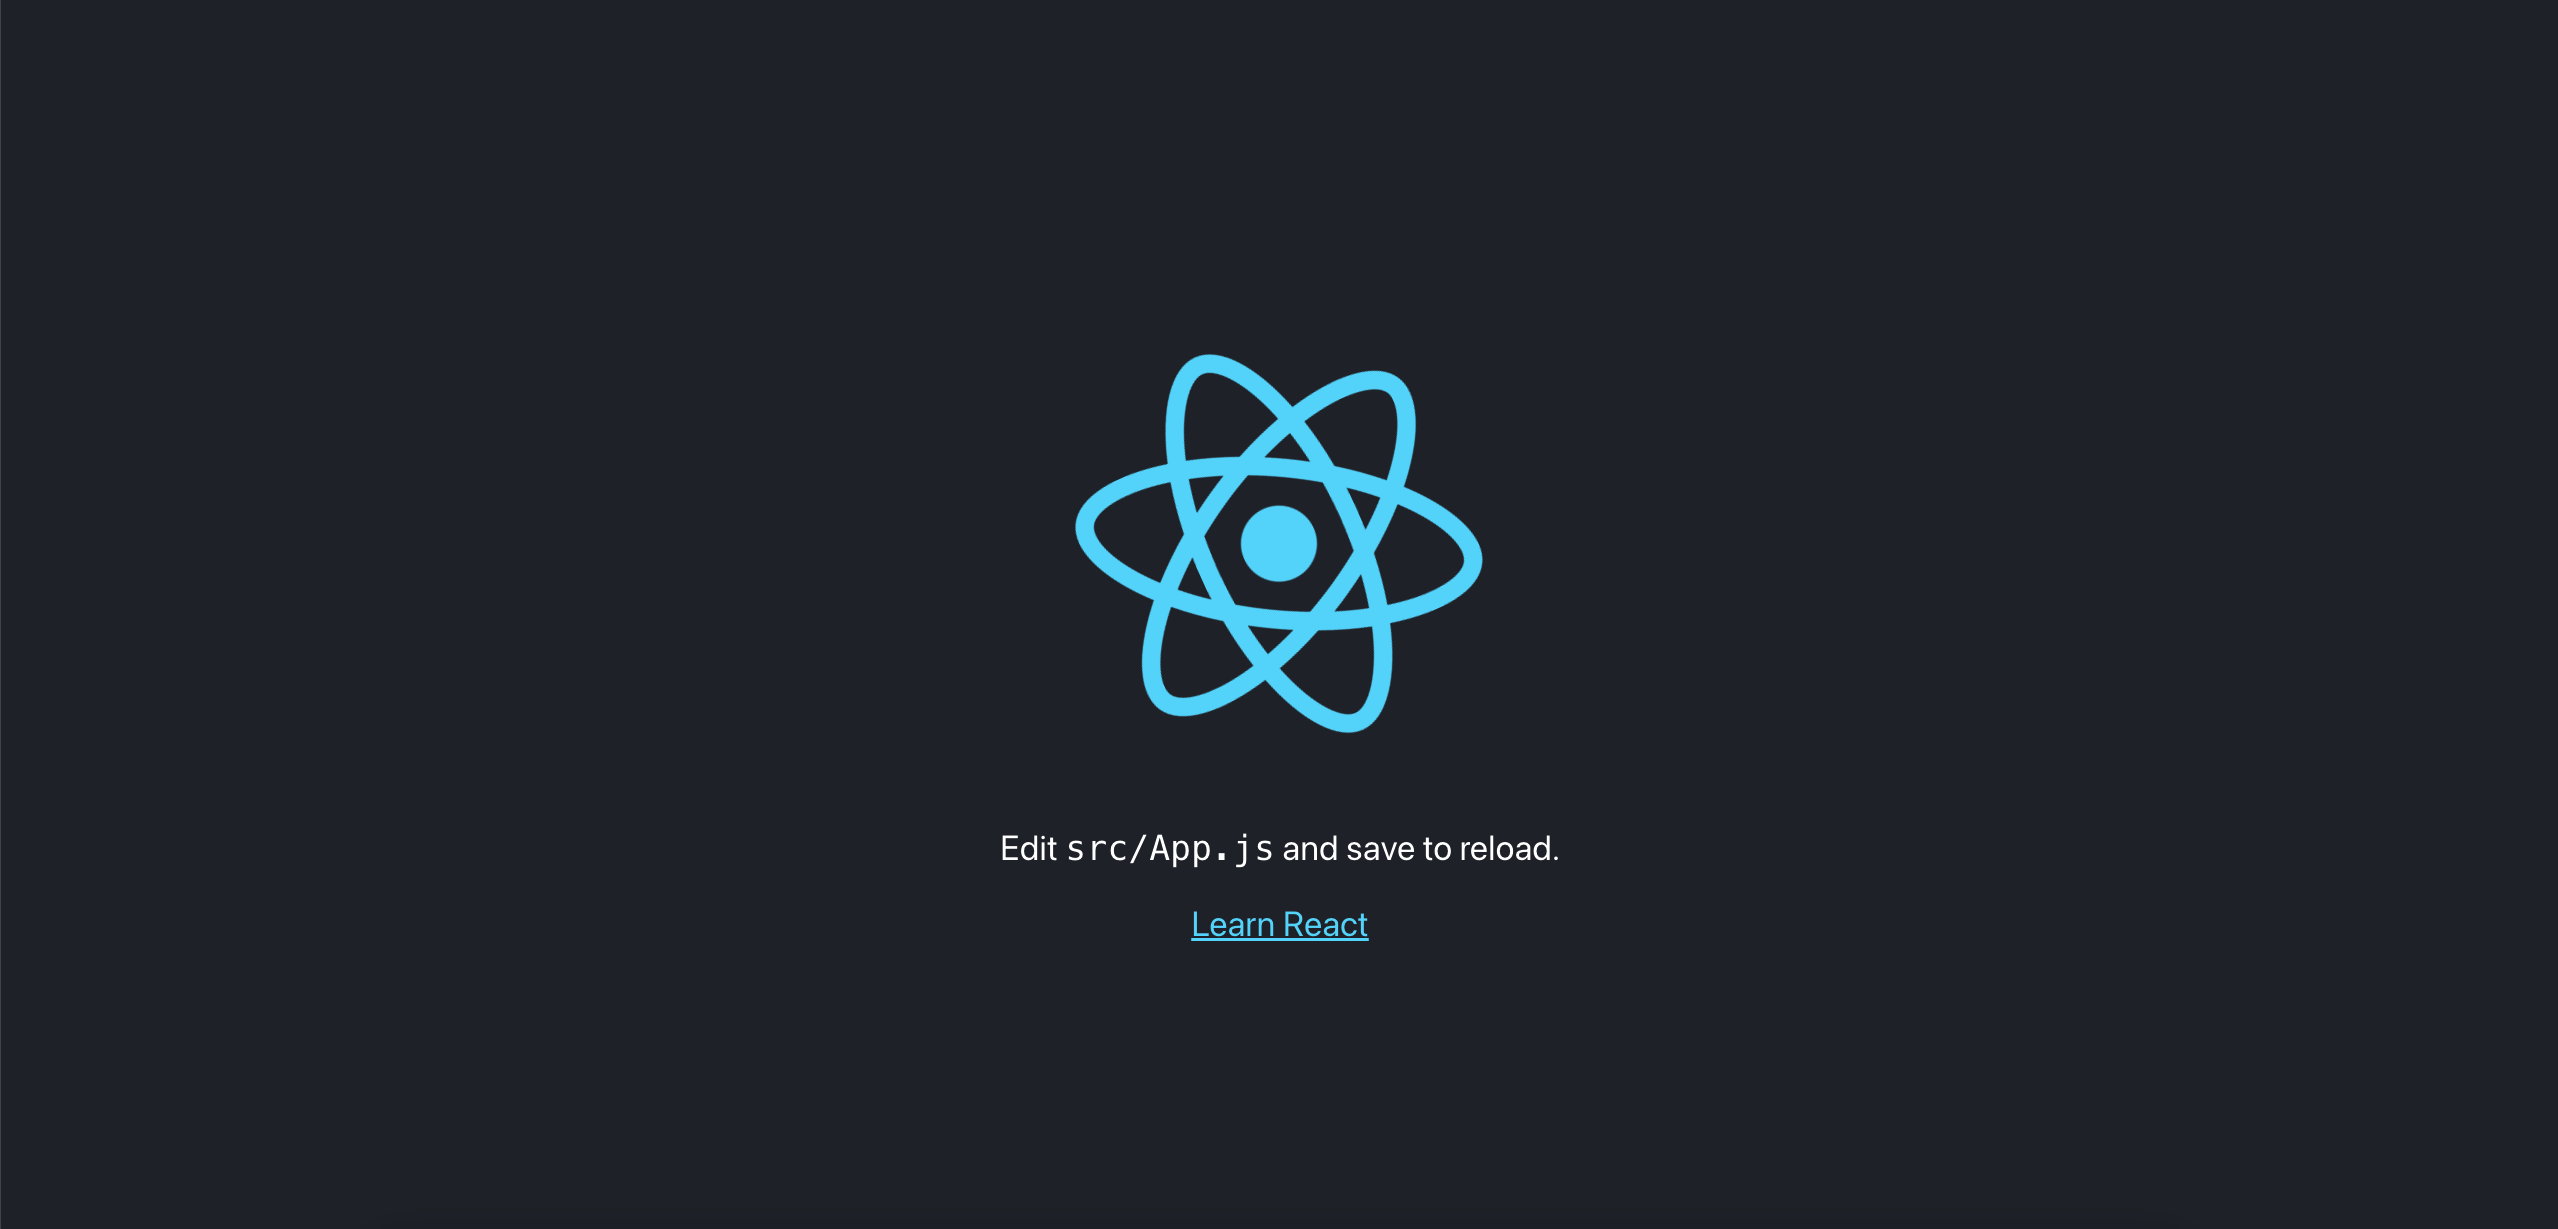
If all has worked, you should have a new browser window launch and see the following window.
To stop the local server, so we can continue with the next steps, please use Ctrl^C within your terminal, this will end the session.
Installing React Router
For this tutorial, we will use the react router to allow for the routing of subdirectories to pages within our react project. To do this we use the following command.
# Important! Make sure you are still in the 'pexip-pexrtc-react-example' directory
npm install react-router-dom@6
Once the above command has completed the installation, open the index.js file
in the src/ directory of your project. Within this folder, we need to update
the project to use the react-router.
Adding the React Router import
Inside of your index.js file, add the following line to the top of the file,
below the other imports.
import {BrowserRouter} from 'react-router-dom';
Using the React Router for the Page Render
To enable the react router, the rendering code for the page needs to be changed to reflect its use.
ReactDOM.render(
  <React.StrictMode>
    <App />
  </React.StrictMode>,
  document.getElementById('root'),
);
The above code block should be changed to reflect the below changes. Notice that
React.StrictMode has been changed to BrowserRouter .
ReactDOM.render(
  <BrowserRouter>
    <App />
  </BrowserRouter>,
  document.getElementById('root'),
);
Installing SASS
In order to allow us to gain the benefits of the SASS compiler, for scss files, we need to add the package to our project. To do this, run the following command in your terminal.
# Important! Make sure you are still in the 'pexip-pexrtc-react-example' directory
npm install sass
Installing Roboto Font
For this project to look good, we will use the open-source Roboto font from Google. To install this package, run the following command in your terminal.
npm install typeface-roboto
Installing FontAwesome
This project uses FontAwesome for the buttons and wherever an icon is required. To install this package, run the following commands in your terminal.
# Important! Make sure you are still in the 'pexip-pexrtc-react-example' directory
npm i --save @fortawesome/fontawesome-svg-core
npm i --save @fortawesome/free-solid-svg-icons
npm i --save @fortawesome/react-fontawesome
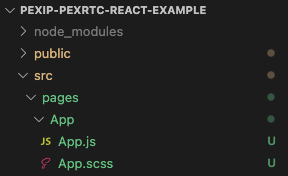
Tidying the Folder Structure
By the end of this project, there will be a number of new components, in order
to make this easier to navigate we will move the App.js file to its own
directory. To do this, inside your react project, create a new folder in the
src/ directory name pages and then another under that named App. Once this
is completed, move the App.js and App.css files into that directory, if you are
prompted to update your project references automatically, click Yes and save the
index.js file. Whilst you do this, rename the App.css file to App.scss .
If you were not requested to update your references, you will need to do this
manually. In the index.js file, change the imports at the top of the document
to reflect the below changes.
import App from './pages/App/App';
Additionally, inside the App.js file, update the css import to the following
code.
import './App.scss';
Adding the PexRTC Library to our React Project
The PexRTC library is a javascript library that is used to give us functionality
that is pre-written by Pexip. This library allows us to add a <video></video>
tag to a page, with the library, and convert it to a Pexip calling window. The
library also contains methods and callbacks to control a call and receive
feedback on where a call is at.
Updating our index.html to reference the library
To add this library, firstly we need to get the URL of our conference node. In
this example, I will use https://conf.pex.local as my conference node, you
must change this to your own conference node address. The first step to
embedding this library is to open the index.html file from the public/
folder, once this is open, we will add the library to the <head></head> tags
of the document.
<script
  type="text/javascript"
  src="https://conf.pex.local/static/webrtc/js/pexrtc.js"
></script>
An example of this file is below.
<!DOCTYPE html>
<html lang="en">
  <head>
    <meta charset="utf-8" />
    <link rel="icon" href="%PUBLIC_URL%/favicon.ico" />
    <meta name="viewport" content="width=device-width, initial-scale=1" />
    <meta name="theme-color" content="#000000" />
    <meta
      name="description"
      content="Web site created using create-react-app"
    />
    <link rel="apple-touch-icon" href="%PUBLIC_URL%/logo192.png" />
    <!--
      manifest.json provides metadata used when your web app is installed on a
      user's mobile device or desktop. See https://developers.google.com/web/fundamentals/web-app-manifest/
    -->
    <link rel="manifest" href="%PUBLIC_URL%/manifest.json" />
    <!--
      Notice the use of %PUBLIC_URL% in the tags above.
      It will be replaced with the URL of the `public` folder during the build.
      Only files inside the `public` folder can be referenced from the HTML.

      Unlike "/favicon.ico" or "favicon.ico", "%PUBLIC_URL%/favicon.ico" will
      work correctly both with client-side routing and a non-root public URL.
      Learn how to configure a non-root public URL by running `npm run build`.
    -->
    <title>Pexip PexRTC React Example</title>
    <script
      type="text/javascript"
      src="https://conf.pex.local/static/webrtc/js/pexrtc.js"
    ></script>
  </head>
  <body>
    <noscript>You need to enable JavaScript to run this app.</noscript>
    <div id="root"></div>
    <!--
      This HTML file is a template.
      If you open it directly in the browser, you will see an empty page.

      You can add webfonts, meta tags, or analytics to this file.
      The build step will place the bundled scripts into the <body> tag.

      To begin the development, run `npm start` or `yarn start`.
      To create a production bundle, use `npm run build` or `yarn build`.
    -->
  </body>
</html>
Instantiating the PexRTC library within React
To use the PexRTC library we need to instantiate it. In this example, we will instantiate the library at the top of the project and then filter it down to our components, this will allow us to control the library from any component, it also allows us to see its status in real-time.
Open the src/pages/App.js file and change the code to reflect the below
changes.
// Import useState for our React Hooks
import React, {useState} from 'react';
// Import our Route blocks for React Routing
import {Routes, Route} from 'react-router-dom';

// Import our CSS
import './App.scss';
// Import the Roboto font
import 'typeface-roboto';

// Our App function
function App() {
  // Instantiate the PexRTC library from the script attached to the window
  const [pexRTC] = useState(new window['PexRTC']());

  // Return the JSX for the page to render
  return (
    // We will work on this later in the project
    <div className="pageContainer">
      <Routes></Routes>
    </div>
  );
}

// Export the app
export default App;
Along with this page, we need to update our CSS styling. Open the
src/pages/App.scss file and add the following code.
html,
body {
  font-family: 'Roboto';

  padding: 0;
  margin: 0;
}

.pageContainer {
  width: 100vw;
  height: 100vh;

  display: flex;
  justify-content: center;
  align-items: center;

  background-color: #0a2136;
}
Creating the Pre-Flight Page
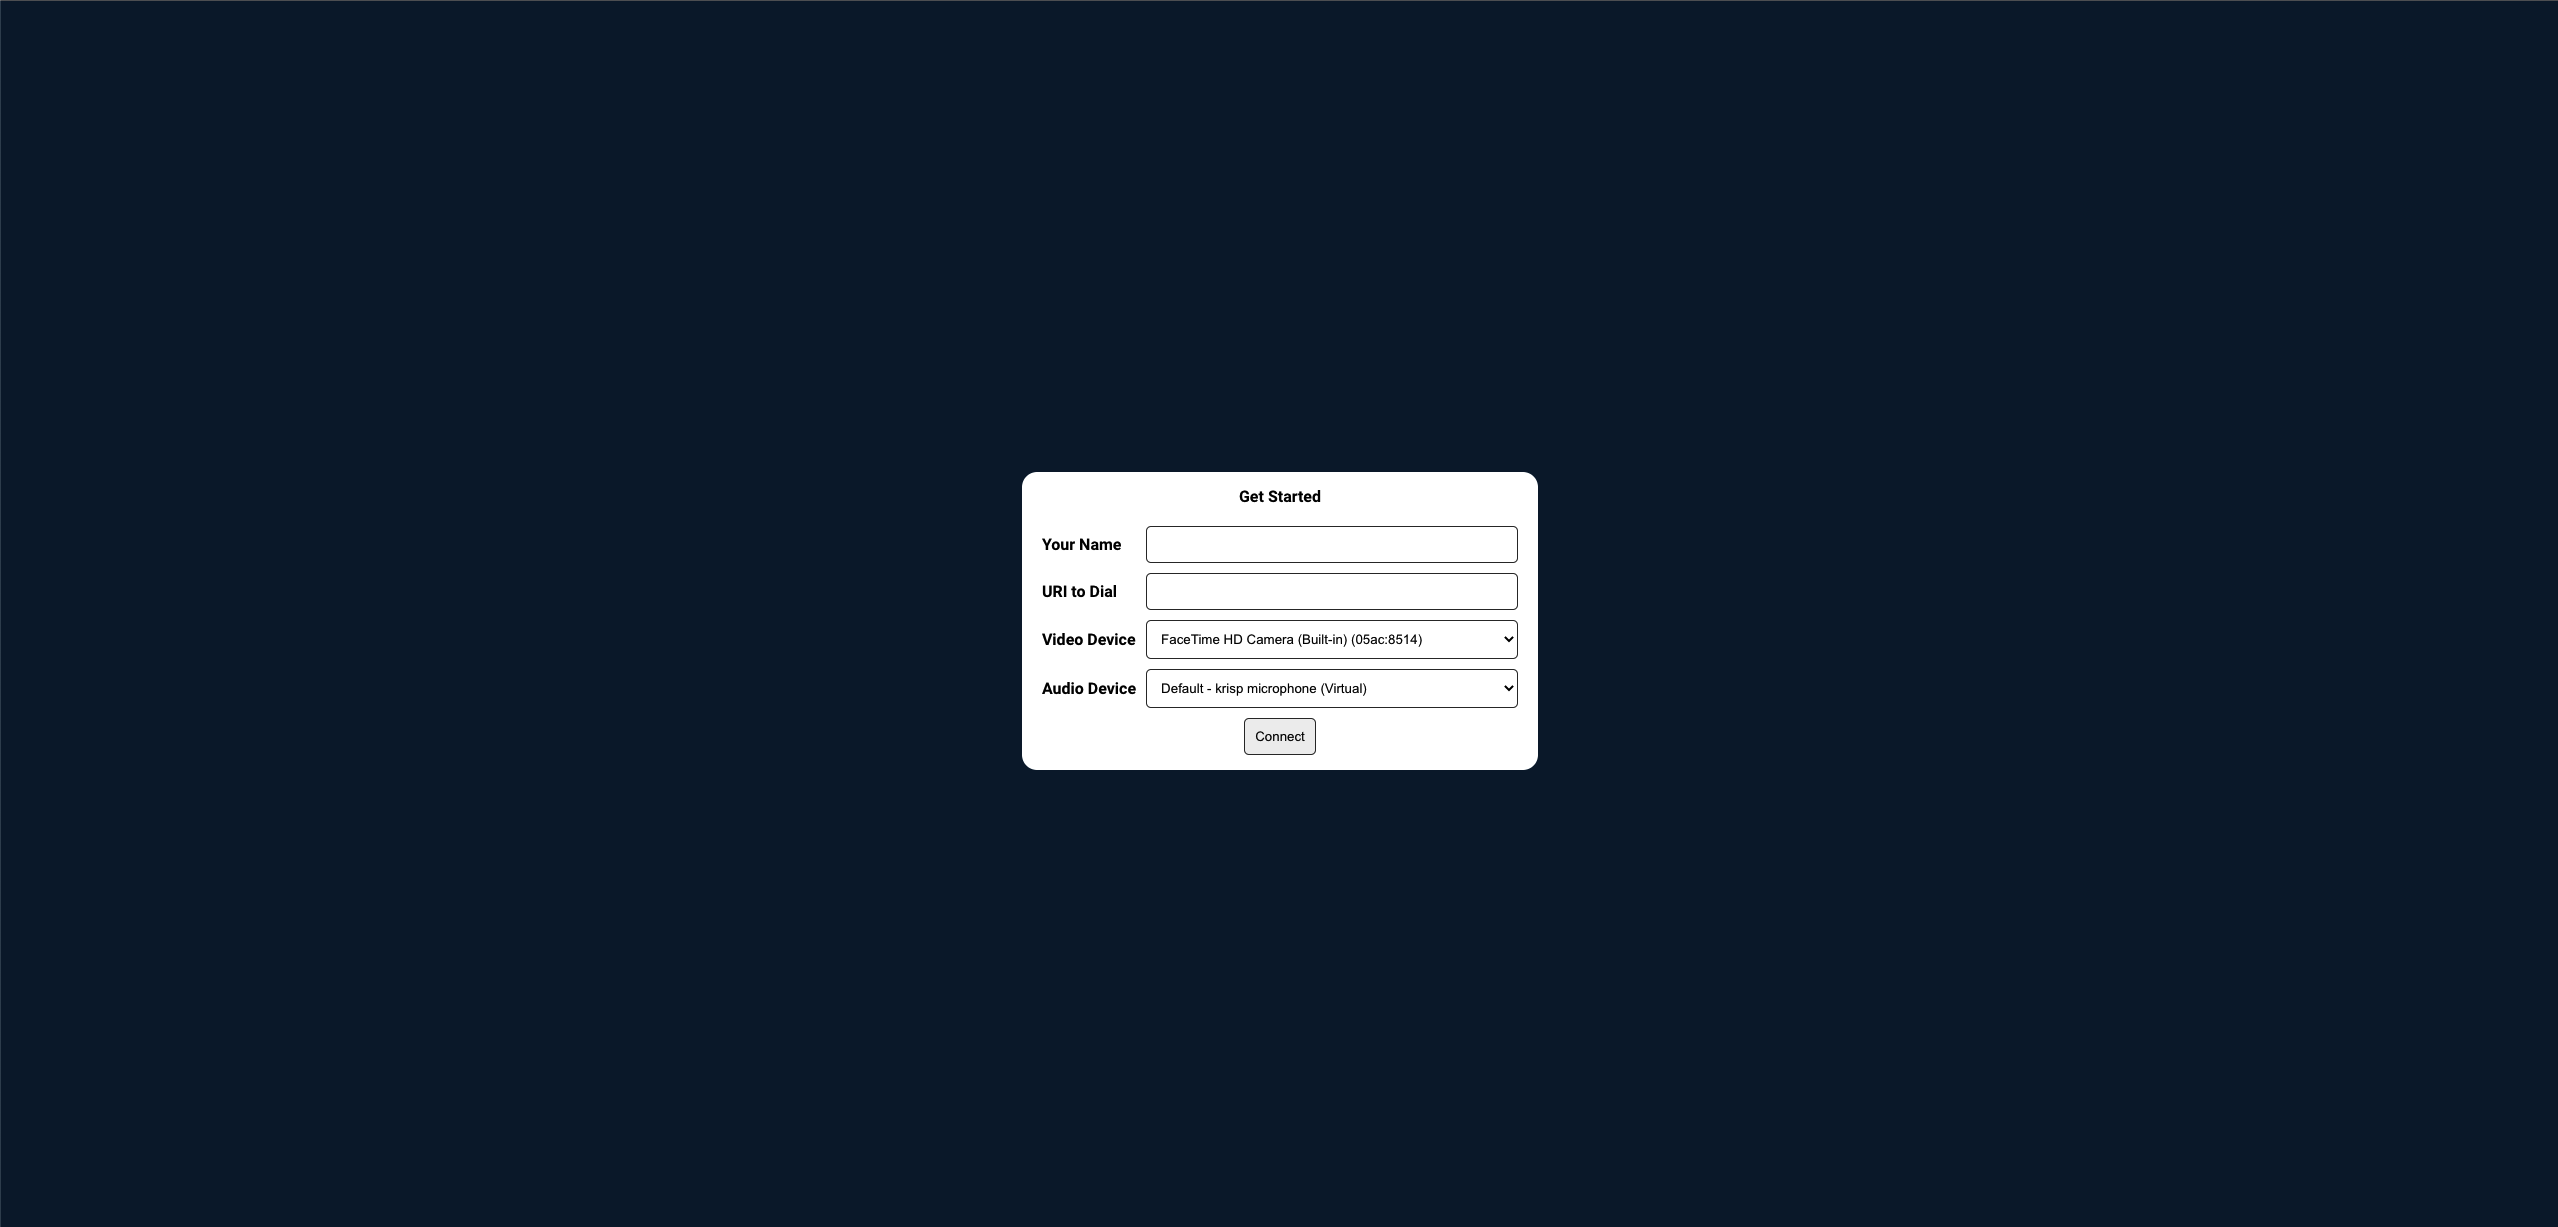
The pre-flight is the page that the user will see when they first visit the PexRTC webpage. This pre-flight is used to allow the user to select their camera and microphone before connecting to the call, as well as entering the URI for the call they are making.
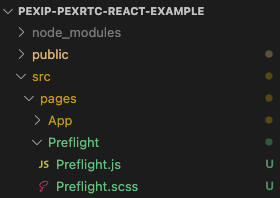
Add the Pre-Flight Page to the Project
Inside your react project, create a new folder in the src/pages/ directory
named Preflight with two files named Preflight.js and Preflight.scss
respectively.
Add Code to Preflight.js
Open the Preflight.js file and add the following code to it.
// Import the React methods we want to use
import React, {useRef, useEffect, useState} from 'react';

// Import the SCSS file for styling
import './Preflight.scss';

function Preflight({navigate, pexRTC, setDialURI, setParticipantName}) {
  // Create a reference for our participant name input field
  const participantName = useRef('');
  // Create a refernece for our dial URL input field
  const dialURI = useRef('');
  // Create a refernece for our video device selector
  const videoDevice = useRef('');
  // Create a refernece for our audio device selector
  const audioDevice = useRef('');
  // Create a state for storing the video device list
  const [videoDevices, setVideoDevices] = useState([]);
  // Create a state for storing the audio device list
  const [audioDevices, setAudioDevices] = useState([]);

  // This method is called on button push to connect our call
  function connectCall() {
    // Set our Dial URI for other components to use
    setDialURI(dialURI.current.value);
    // Set our participant name for other components to use
    setParticipantName(participantName.current.value);

    // If a video device has been selected
    if (videoDevice !== 'loading') {
      // Set the video device to the ID from our video dropdown
      pexRTC.video_device = videoDevice.current.value;
    }

    // If an audio device has been selected
    if (audioDevice !== 'loading') {
      // Set the audio device to the ID from our audio dropdown
      pexRTC.audio_device = audioDevice.current.value;
    }

    // Navigate to the call component
    navigate('/call');
  }

  // Important! You must have a valid SSL cert for device selection to work!!
  // This useEffect will run when the component loads
  useEffect(() => {
    // Set the constraints of the video to search for
    // https://developer.mozilla.org/en-US/docs/Web/API/MediaDevices/getUserMedia
    let constraints = {
      video: {
        height: {
          min: 1080,
        },
        width: {
          min: 1920,
        },
      },
      audio: true,
    };

    // An async function to get the video and audio devices
    async function getMediaDevices(constraints) {
      // Request permission to list devices
      await navigator.mediaDevices.getUserMedia(constraints);
      // Enumerate the devices
      let devices = await navigator.mediaDevices.enumerateDevices();

      // Filter only video devices
      let video_devices = devices.filter(d => d.kind === 'videoinput');
      // Filter only audio devices
      let audio_devices = devices.filter(d => d.kind === 'audioinput');

      // Set the Video Devices so we can show on the UI
      setVideoDevices(video_devices);
      // Set the Audio Devices so we can show on the UI
      setAudioDevices(audio_devices);
    }

    // Run the async function
    getMediaDevices(constraints);
  }, []);

  return (
    <div className="preflightContainer">
      <div className="preflightTitle">Get Started</div>
      <div className="preflightContent">
        <div className="preflightContentHead">Your Name</div>
        <div className="preflightContentBody">
          <input type="text" ref={participantName} />
        </div>

        <div className="preflightContentHead">URI to Dial</div>
        <div className="preflightContentBody">
          <input type="text" ref={dialURI} />
        </div>

        <div className="preflightContentHead">Video Device</div>
        <div className="preflightContentBody">
          <select ref={videoDevice}>
            {/*
              Iterate through the video devices, if the array is not empty
              If it is empty, show a loading message
              */}
            {videoDevices === [] ? (
              <option value="loading">Loading...</option>
            ) : (
              videoDevices.map(device => {
                return <option value={device.deviceId}>{device.label}</option>;
              })
            )}
          </select>
        </div>

        <div className="preflightContentHead">Audio Device</div>
        <div className="preflightContentBody">
          <select ref={audioDevice}>
            {/*
              Iterate through the audio devices, if the array is not empty
              If it is empty, show a loading message
              */}
            {audioDevices === [] ? (
              <option value="loading">Loading...</option>
            ) : (
              audioDevices.map(device => {
                return <option value={device.deviceId}>{device.label}</option>;
              })
            )}
          </select>
        </div>

        <div className="preflightContentButton">
          <button onClick={() => connectCall()}>Connect</button>
        </div>
      </div>
    </div>
  );
}

export default Preflight;
This will create our preflight page, there are comments in the code block above to explain what the code is doing.
Add Code to Preflight.scss
Open your Preflight.scss file and add the following code.
.preflightContainer {
  border-radius: 15px;

  background-color: #fff;

  padding: 15px;

  .preflightTitle {
    text-align: center;
    font-weight: 600;
  }

  .preflightContent {
    margin-top: 15px;
    display: grid;
    grid-template-columns: auto auto;

    .preflightContentHead {
      display: flex;
      align-items: center;

      padding: 5px;
      font-weight: 600;
    }

    .preflightContentBody {
      padding: 5px;

      input {
        border-radius: 5px;
        border: 1px solid #333;
        padding: 10px;

        width: 94%;
      }

      select {
        border-radius: 5px;
        border: 1px solid #333;
        padding: 10px;

        width: 100%;

        &:hover {
          cursor: pointer;
        }
      }
    }

    .preflightContentButton {
      margin-top: 5px;
      width: 100%;

      text-align: center;
      grid-column: 1 / span 2;

      button {
        border-radius: 5px;
        border: 1px solid #333;
        padding: 10px;

        &:hover {
          cursor: pointer;
        }
      }
    }
  }
}
Update App.js to integrate changes
To apply the changes to the app, we need to add the linking code to the App.js
file. Replace the contents of that file with the below code.
// Import useState for our React Hooks
import React, {useState} from 'react';
// Import our Route blocks for React Routing
import {Routes, Route} from 'react-router-dom';
// Import useNavigate so we can easily switch betweeen components
import {useNavigate} from 'react-router';

// Import our CSS
import './App.scss';
// Import the Roboto font
import 'typeface-roboto';

// Import the Preflight component
import Preflight from '../Preflight/Preflight';

// Our App function
function App() {
  // Create a navigate obect so we can switch components
  const navigate = useNavigate();
  // Instantiate the PexRTC library from the script attached to the window
  const [pexRTC] = useState(new window['PexRTC']());
  // Create a reference for the URI to dial
  const [dialURI, setDialURI] = useState('');
  // Create a reference for the name of the participant
  const [participantName, setParticipantName] = useState('');

  // Return the JSX for the page to render
  return (
    <div className="pageContainer">
      <Routes>
        {/*
          Create a default route of the pre-flight page.
          Also, we pass the parameter setting methods.
        */}
        <Route
          path="/"
          element={
            <Preflight
              navigate={navigate}
              pexRTC={pexRTC}
              setDialURI={setDialURI}
              setParticipantName={setParticipantName}
            />
          }
        />
      </Routes>
    </div>
  );
}

// Export the app
export default App;
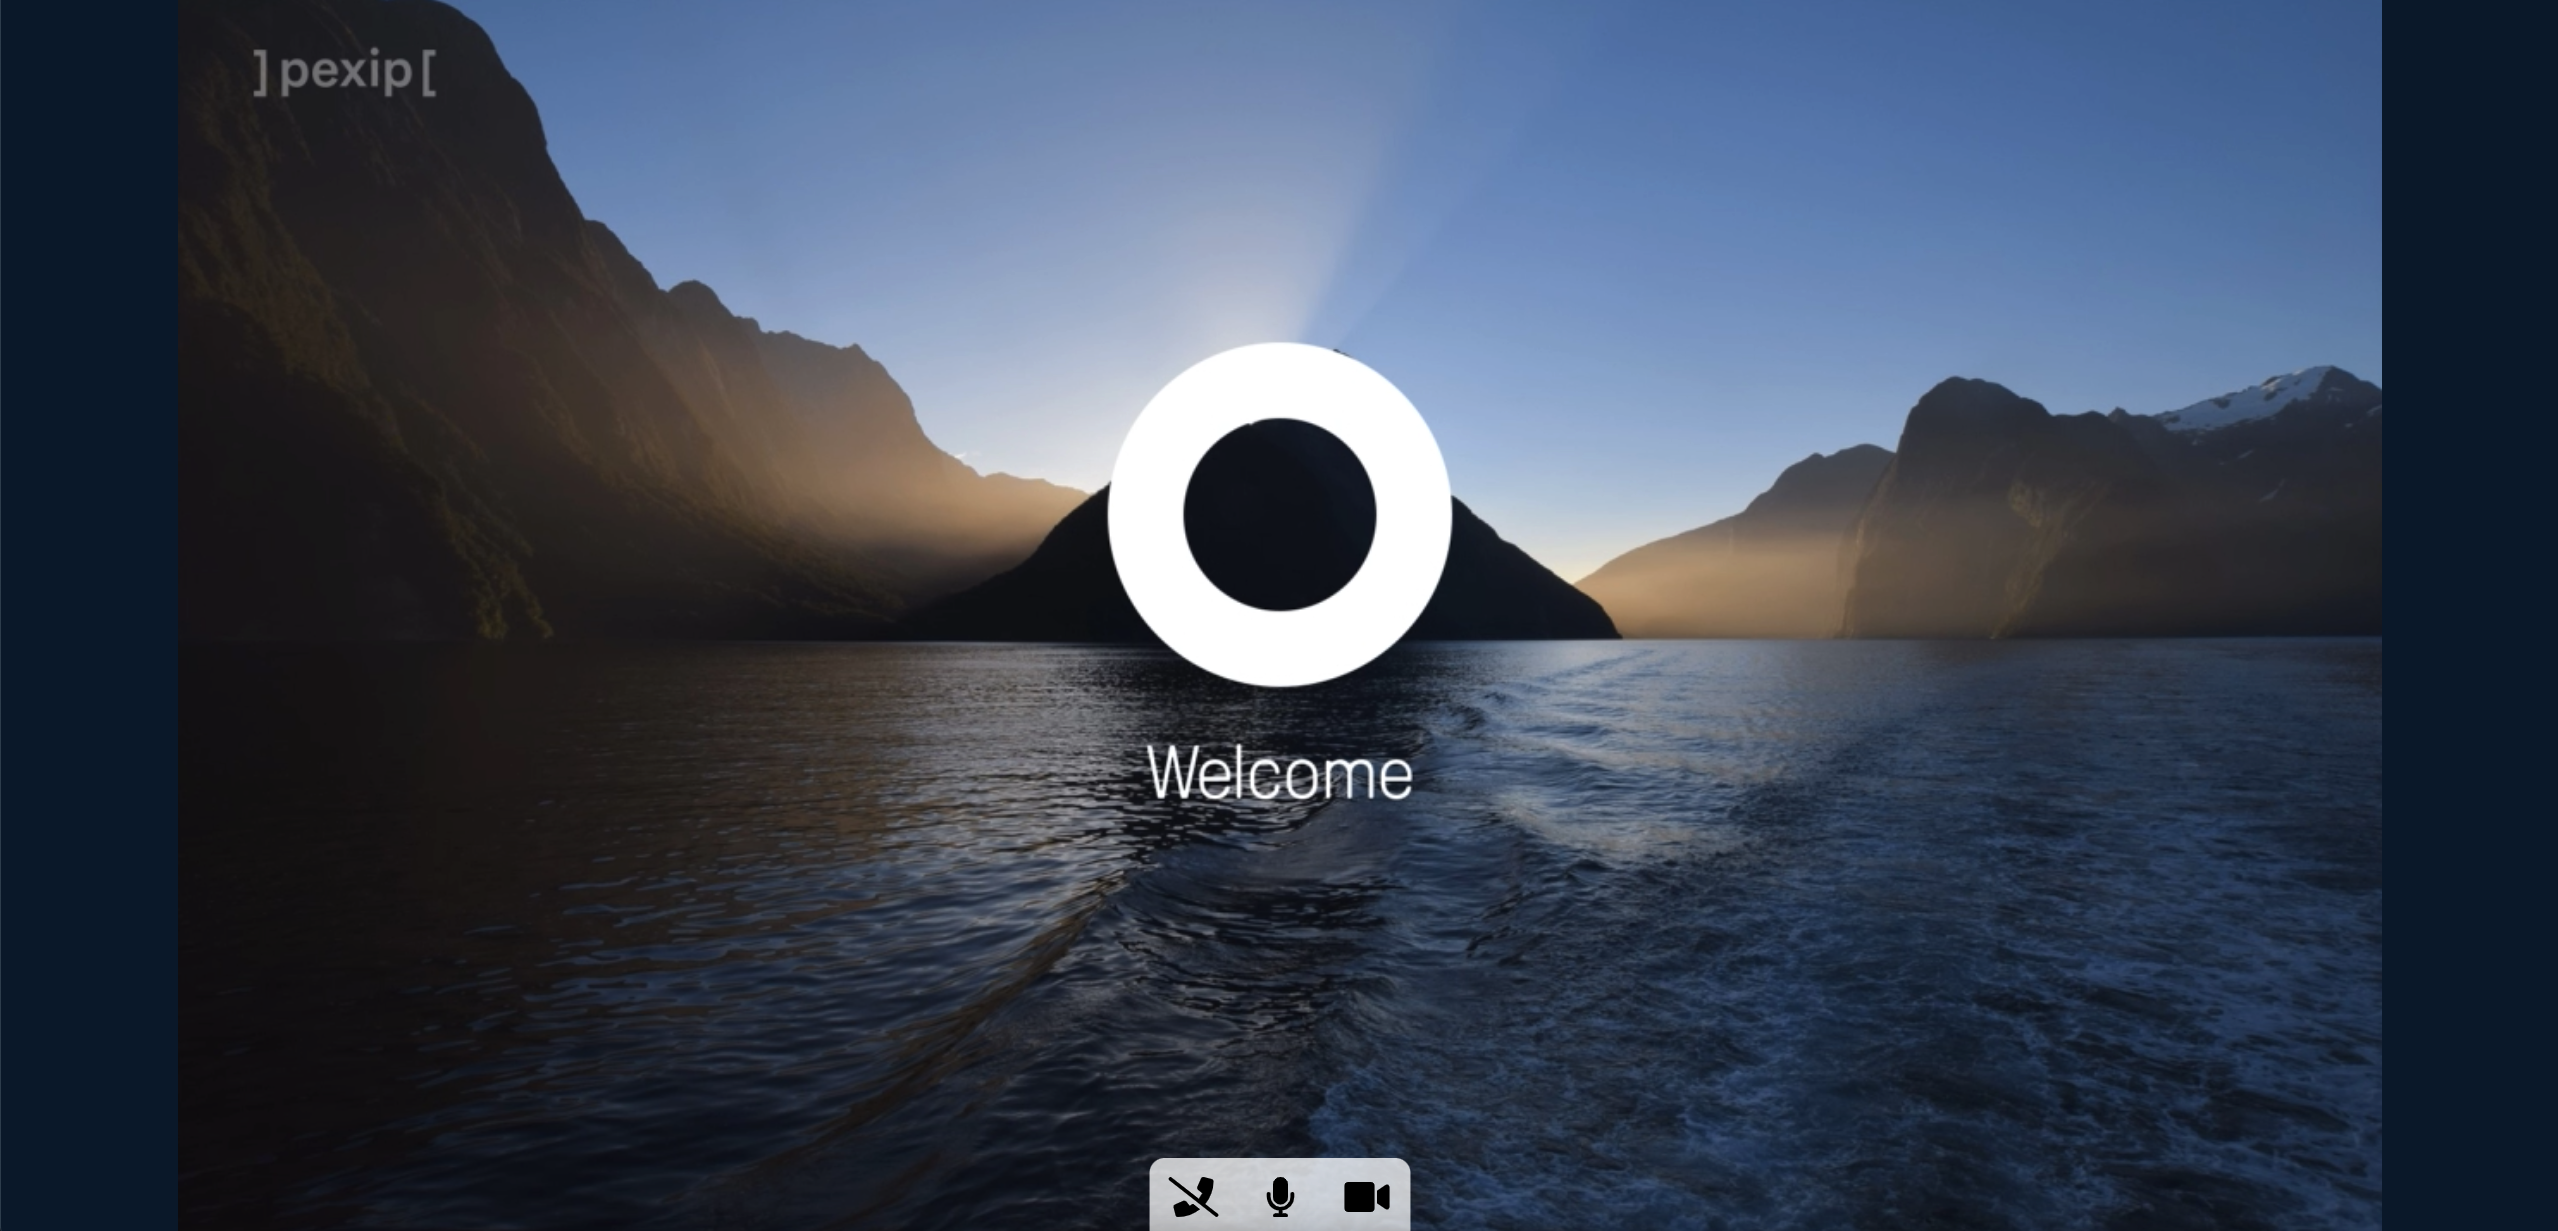
Testing the Pre-Flight Page
To view your changes, open your terminal in the project folder and run the following command.
# Important! Make sure you are still in the 'pexip-pexrtc-react-example' directory
npm start
You should see the following page.
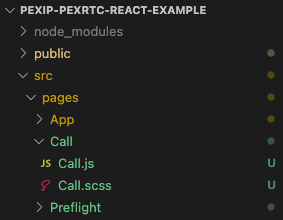
Creating the Call Page
The call page is where the call will actually happen, this page has a video container and the controls to do different things in the call, such as hanging up, muting video/audio and interacting with the far end.
Add the Call Page to the project
Inside your react project, create a new folder in the src/pages/ directory
named Call with two files named Call.js and Call.scss respectively.
Add Code to Call.js
Open the Call.js file and add the following code to it.
// Import the React methods we want to use
import React, {useRef, useEffect, useState} from 'react';
// Import Font awesome
import {FontAwesomeIcon} from '@fortawesome/react-fontawesome';
// Import the different icons from FontAwesome that we want to use
import {
  faPhoneSlash,
  faMicrophone,
  faMicrophoneSlash,
  faVideo,
  faVideoSlash,
} from '@fortawesome/free-solid-svg-icons';

// Import the SCSS file for styling
import './Call.scss';

function Call({navigate, pexRTC, dialURI, participantName}) {
  // Create a reference to the video tag that will hold our video
  const pexipVideoRef = useRef(null);
  // Create a reference to the pin entry text box
  const enteredPin = useRef('');

  // Create a state for pin entry
  const [pinStatus, setPinStatus] = useState('');
  // Create a state for the video stream source
  const [streamSrc, setStreamSrc] = useState(null);
  // Create a state for microphone mute
  const [micMute, setMicMute] = useState(false);
  // Create a state for video mute
  const [vidMute, setVidMute] = useState(false);

  // This will run when the component mounts
  useEffect(() => {
    // Linke the callSetup method to the onSetup callback
    pexRTC.onSetup = callSetup;
    // Linke the callConnected method to the onConnect callback
    pexRTC.onConnect = callConnected;
    // Linke the callDisconnected method to the onError callback
    pexRTC.onError = callDisconnected;
    // Linke the callDisconnected method to the onDisconnect callback
    pexRTC.onDisconnect = callDisconnected;

    // Make the actual call with the PexRTC Library
    // The first parameter should be changed to your conference nodes name
    pexRTC.makeCall('conf.pex.local', dialURI, participantName);

    // When the component unmounts
    return () => {
      // Disconnect the call
      pexRTC.disconnect();
    };
  }, []);

  // When the stream source is updated
  useEffect(() => {
    // If the source is not null
    if (streamSrc != null) {
      // Check if the source is a MediaStream type
      if (
        typeof MediaStream !== 'undefined' &&
        streamSrc instanceof MediaStream
      ) {
        // Set the sourc object to the stream source
        pexipVideoRef.current.srcObject = streamSrc;
      } else {
        // It's not a Media Stream so we assume it is just a regular source and apply it
        pexipVideoRef.current.src = streamSrc;
      }
    }
  }, [streamSrc]);

  // This method is called when the call is setting up
  function callSetup(stream, pinStatus) {
    // If no pin is required, connect to the call with no pin
    if (pinStatus === 'none') {
      pexRTC.connect();
    } else {
      // A pin is either required or optional
      // We use this to show the pin entry popup
      setPinStatus(pinStatus);
    }
  }

  // When the call is connected
  function callConnected(stream) {
    // Set the stream source to the stream sent by the PexRTC library
    setStreamSrc(stream);
  }

  // When the call is disconnected
  function callDisconnected(reason = '') {
    // Navigate back to the preflifght page
    navigate('/');
  }

  // This method is used to connect to the call with a pin
  function enterCall() {
    // Connect to the call with the pin entered in the text field
    pexRTC.connect(enteredPin.current.value);
    // Clear the pin status, hiding the popup
    setPinStatus('');
  }

  // This method hangs up the cxall
  function hangup() {
    // Tell the PextRTC library to disconnect
    pexRTC.disconnect();
    // Call the callDisconnected method to navigate back
    // to pre-flight
    callDisconnected();
  }

  // Toggle the microphone mute
  function toggleMicMute() {
    // Tell the pexRTC lib to mute the microphone and store the response
    // This will ensure that the mute state is in sync
    setMicMute(pexRTC.muteAudio());
  }

  // Toggle the video mute
  function toggleVidMute() {
    // Tell the pexRTC lib to mute the video and store the response
    // This will ensure that the mute state is in sync
    setVidMute(pexRTC.muteVideo());
  }

  return (
    <div className="callContainer">
      <div className="callVideoContainer">
        {/* Create a video frame and set the reference for us to assign video to */}
        <video ref={pexipVideoRef} autoPlay="autoplay"></video>
      </div>
      <div className="callVideoControls">
        <div className="callVideoControl" onClick={() => hangup()}>
          <FontAwesomeIcon icon={faPhoneSlash} />
        </div>
        {/* If the mic is muted, show one button state, otherwise show the other */}
        {micMute ? (
          <div
            className="callVideoControl active"
            onClick={() => toggleMicMute()}
          >
            <FontAwesomeIcon icon={faMicrophoneSlash} />
          </div>
        ) : (
          <div className="callVideoControl" onClick={() => toggleMicMute()}>
            <FontAwesomeIcon icon={faMicrophone} />
          </div>
        )}
        {/* If the video is muted, show one button state, otherwise show the other */}
        {vidMute ? (
          <div
            className="callVideoControl active"
            onClick={() => toggleVidMute()}
          >
            <FontAwesomeIcon icon={faVideoSlash} />
          </div>
        ) : (
          <div className="callVideoControl" onClick={() => toggleVidMute()}>
            <FontAwesomeIcon icon={faVideo} />
          </div>
        )}
      </div>
      {/* If the pin status is nothing, don't show the pin entry, otherwise do show it */}
      {pinStatus === '' ? (
        <></>
      ) : (
        <div className="callPinRequestContainer">
          <div className="callPinRequestWindow">
            <div className="callPinTitle">
              {pinStatus === 'required'
                ? 'A PIN is required to enter this meeting'
                : 'Enter your PIN or press Connect'}
            </div>

            <div className="callPinContent">
              <div className="callPinContentHead">Your Pin</div>
              <div className="callPinContentBody">
                <input type="text" ref={enteredPin} />
              </div>
            </div>

            <div className="callPinContentButton">
              <button onClick={() => enterCall()}>Connect</button>
            </div>
          </div>
        </div>
      )}
    </div>
  );
}

export default Call;
Update your conference node
On line 46 of the Call.js file, change the conference node from
conf.pex.local to your conference node address.
pexRTC.makeCall('conf.pex.local', dialURI, participantName);
Add Code to Call.scss
Open your Call.scss file and add the following code.
.callContainer {
  .callVideoContainer {
    width: 100vw;
    height: 100vh;

    video {
      width: 100%;
      height: 100%;
    }
  }

  .callVideoControls {
    display: flex;
    align-items: center;
    justify-content: center;

    position: absolute;

    bottom: 0;
    left: 50%;

    transform: translateX(-50%);

    height: 80px;

    border-radius: 15px 15px 0 0;

    background-color: rgba(255, 255, 255, 0.8);

    .callVideoControl {
      font-size: 40px;
      min-width: 57px;

      text-align: center;

      padding: 5px 15px 5px 15px;

      &:hover {
        cursor: pointer;
        color: #333;
      }
    }

    .active {
      color: #c00000;

      &:hover {
        cursor: pointer;
        color: #d9381e;
      }
    }
  }

  .callPinRequestContainer {
    display: flex;
    align-items: center;
    justify-content: center;

    position: fixed;

    left: 0;
    top: 0;

    width: 100vw;
    height: 100vh;

    background-color: rgba(0, 0, 0, 0.8);

    .callPinRequestWindow {
      border-radius: 15px;

      background-color: #fff;

      padding: 15px;

      .callPinTitle {
        text-align: center;
        font-weight: 600;
      }

      .callPinContent {
        margin-top: 15px;
        display: grid;
        grid-template-columns: auto auto;

        .callPinContentHead {
          display: flex;
          align-items: center;

          padding: 5px;
          font-weight: 600;
        }

        .callPinContentBody {
          padding: 5px;

          input {
            border-radius: 5px;
            border: 1px solid #333;
            padding: 10px;
          }
        }
      }

      .callPinContentButton {
        margin-top: 5px;
        width: 100%;

        text-align: center;
        grid-column: 1 / span 2;

        button {
          border-radius: 5px;
          border: 1px solid #333;
          padding: 10px;

          &:hover {
            cursor: pointer;
          }
        }
      }
    }
  }
}
Update App.js to Integrate the changes
To apply the changes to the app, we need to add the linking code to the App.js
file. Replace the contents of that file with the below code.
// Import useState for our React Hooks
import React, {useState} from 'react';
// Import our Route blocks for React Routing
import {Routes, Route} from 'react-router-dom';
// Import useNavigate so we can easily switch betweeen components
import {useNavigate} from 'react-router';

// Import our CSS
import './App.scss';
// Import the Roboto font
import 'typeface-roboto';

// Import the Preflight component
import Preflight from '../Preflight/Preflight';
// Import the Call component
import Call from '../Call/Call';

// Our App function
function App() {
  // Create a navigate obect so we can switch components
  const navigate = useNavigate();
  // Instantiate the PexRTC library from the script attached to the window
  const [pexRTC] = useState(new window['PexRTC']());
  // Create a reference for the URI to dial
  const [dialURI, setDialURI] = useState('');
  // Create a reference for the name of the participant
  const [participantName, setParticipantName] = useState('');

  // Return the JSX for the page to render
  return (
    <div className="pageContainer">
      <Routes>
        {/*
          Create a default route of the pre-flight page.
          Also, we pass the parameter setting methods.
        */}
        <Route
          path="/"
          element={
            <Preflight
              navigate={navigate}
              pexRTC={pexRTC}
              setDialURI={setDialURI}
              setParticipantName={setParticipantName}
            />
          }
        />
        {/*
          Create a route for the call page.
          Also, we pass shared variables as parameters.
        */}
        <Route
          path="/call"
          element={
            <Call
              navigate={navigate}
              pexRTC={pexRTC}
              dialURI={dialURI}
              participantName={participantName}
            />
          }
        />
      </Routes>
    </div>
  );
}

// Export the app
export default App;
Testing the Call Page
To view your changes, open your terminal in the project folder and run the following command.
# Important! Make sure you are still in the 'pexip-pexrtc-react-example' directory
npm start
After the preflight, you should see something like the following page.
Adding Selfview
This section is in progress.
Adding Presentation
This section is in progress.
Where to get the sample code
This will be added when the document is done.