Mute audio and video
In the previous lesson we have learnt how to connect to a conference, even if it's protected by a PIN. Now we will add some new features. We will start by allowing the user to protect their own privacy - and for that we will set two new buttons in our interface to allow the user to mute their microphone and camera.
During this lesson we will complete the following tasks:
- Hide the local video in case we don't have a local stream active.
- Define the function that will be triggered when we push the mute microphone button.
- Define the function that will be triggered when we push the mute camera button.
- Modify the toolbar to include both buttons.
App component
We will start by defining the functions that will be triggered when the user pushes any of the mute buttons. We will define these functions here instead of doing it in the Toolbar, since we will need access to the infinityClient and localStream variables.
We define first the function that will be triggered when the user click on the audio mute button:
const handleAudioMute = (mute: boolean) => {
  infinityClient.mute({mute});
}
Now we do the same for the video mute:
const handleVideoMute = async (mute: boolean) => {
  infinityClient.muteVideo({muteVideo: mute});
  if (mute) {
    localStream?.getTracks().forEach((track) => track.stop());
    setLocalStream(null);
  } else {
    const stream = await navigator.mediaDevices.getUserMedia({audio: true, video: true});
    setLocalStream(stream);
  }
}
As you can see, for mute and unmute in Pexip Infinity we only have to call to infinityClient.mute() and infinityClient.muteVideo(). However, in case of mute the video, we need to perform two additional tasks. The first task is to stop all the tracks from the localStream when the user mutes the camera. This will release the access to the camera and turn off its led. The second task is to do the opposite. We should request access again once the user clicks on unmute camera. We do this through getUserMedia().
The next step is to modify how we create the conference component and assign the new callbacks to onAudioMute and onVideoMute.
<Conference
  localStream={localStream}
  remoteStream={remoteStream}
  onAudioMute={handleAudioMute}
  onVideoMute={handleVideoMute}
  onDisconnect={handleDisconnect}
/>
Conference component
First of all, we will make a small improvement in the src/components/Conference/Conference.tsx file. In this case, we would like to hide the local video element when the user mutes their camera. It's a small improvement, but important for the user experience.
For implementing this features, we only have to modify one line of code. We will add a condition for rendering the localStream and this condition is that props.localStream should exist:
{ props.localStream &&
  <Video className='local-video' mediaStream={props.localStream}/>
}
The next change is to pass the props to the Toolbar:
<Toolbar
  className='toolbar'
  onAudioMute={props.onAudioMute}
  onVideoMute={props.onVideoMute}
  onDisconnect={props.onDisconnect}
/>
Toolbar component
Now we will implement the main part of this feature by modifying src/components/Conference/Toolbar/Toolbar.tsx file and adding all the logic for this functionality.
We will start by defining onAudioMute and onVideoMute in the list of the Toolbar props.
interface ToolbarProps {
  className: string;
  onAudioMute: (mute: boolean) => void;
  onVideoMute: (mute: boolean) => void;
  onDisconnect: () => void;
}
Now we define the state variables that will be used to storage. Thanks to these variables we will update the interface accordantly.
const [audioMuted, setAudioMuted] = useState(false);
const [videoMuted, setVideoMuted] = useState(false);
Now we will add the function that will be triggered each time the user pushes the mute audio button. This function will call the function defined in the Conference component and update the state.
const handleAudioMute = () => {
  props.onAudioMute(!audioMuted);
  setAudioMuted(!audioMuted);
};
Now we do the same for the mute video button:
  const handleVideoMute = async () => {
    props.onVideoMute(!videoMuted);
    setVideoMuted(!videoMuted);
  };
Now we will create the buttons themselves:
<Button
  onClick={handleAudioMute}
  selected={audioMuted}
  icon={audioMuted ? <MicOffIcon /> : <MicIcon />}
/>
<Button
  onClick={handleVideoMute}
  selected={videoMuted}
  icon={videoMuted ? <VideocamOffIcon /> : <VideocamIcon />}
/>
You should notice that the icon changes depending on the mute state of the variables.
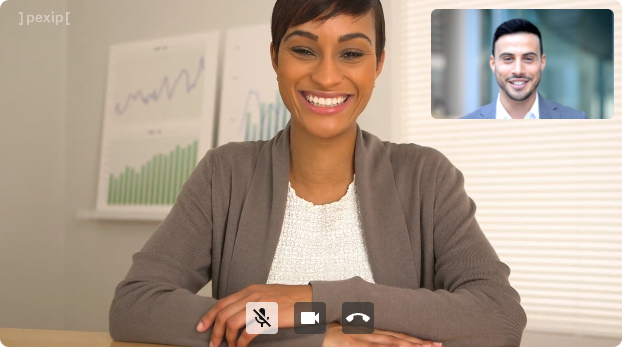
Run the app
When you run the app, you will see your two new buttons in the interface. If you click on any of them, you will see that the audio/video is muted and the styles changes. In case of the mute video, the local video will also be hidden when it's active.